Top DIY Jewelry-Making Tips for Beginners: Create Stunning Accessories at Home
Takeaways: In this article, you’ll learn key tips for starting your DIY jewelry-making journey, including how to select the right materials, essential tools, and simple techniques to create stunning pieces. Whether you’re looking to craft gifts or start a new hobby, these tips are perfect for beginners!
Jewelry-making is a wonderful and rewarding hobby that allows you to express your creativity while crafting beautiful pieces to wear or gift. If you’re a beginner looking to dive into the world of DIY jewelry, this guide is packed with valuable tips and tricks to help you get started on your journey. Let’s explore the essentials of jewelry-making and unleash your inner designer!
1. Choosing the Right Materials

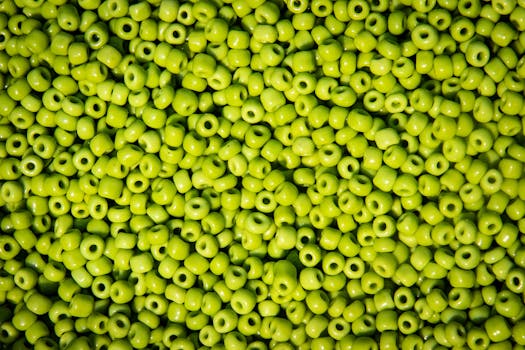
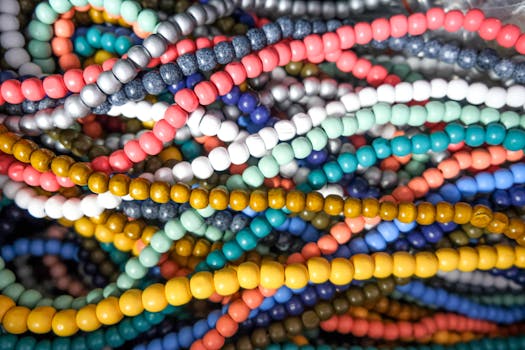
- Understand Different Types of Beads: Familiarize yourself with various types of beads, such as glass, wood, metal, and plastic. Each type of bead offers a unique look and feel, so experiment to find your favorites.
- Explore Wire Options: Jewelry wire comes in different gauges and materials, such as copper, aluminum, and sterling silver. A 20-gauge wire is a good starting point for beginners, as it is sturdy yet pliable.
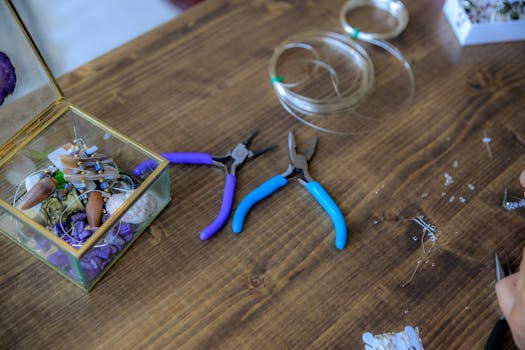
- Choose Quality Tools: Investing in a few essential tools, like pliers, wire cutters, and a bead mat, will improve your crafting experience. Quality tools will make the process smoother and help you achieve professional-looking results.
- Consider Findings: Findings are the components that hold your jewelry together, such as clasps, jump rings, and earring hooks. Make sure to choose findings that are compatible with your chosen materials.
- Experiment with Colors and Textures: Don’t be afraid to mix and match colors, shapes, and textures in your designs. This experimentation can lead to unique and personalized pieces.
2. Essential Tools for Beginners
Having the right tools is essential for successful jewelry-making. Here’s a list of must-have tools for beginners:
- Round-Nose Pliers: These are perfect for making loops and curves in wire. They help you create neat and consistent shapes.
- Cutter Pliers: A good pair of wire cutters is necessary for trimming wire and cord to your desired lengths.
- Flat-Nose Pliers: Useful for gripping and bending wire, flat-nose pliers are great for opening and closing jump rings.
- Bead Mat: A bead mat prevents beads from rolling away and provides a soft surface to work on, making it easier to keep your materials organized.
- Measuring Tools: Having a ruler or measuring tape is beneficial for ensuring that your pieces are the right size.
3. Simple Techniques to Master

- Stringing Beads: This is one of the most straightforward techniques. Simply thread your chosen beads onto a string, wire, or cord to create necklaces and bracelets.
- Making Loops: Learning how to make loops in wire is crucial for connecting beads and components. Practice making both simple and wrapped loops.
- Basic Knotting: Knotting is essential for finishing off your pieces securely. Learn how to tie basic knots to prevent beads from sliding off.
- Wire Wrapping: This technique adds a professional touch to your designs. Start with simple wire-wrapped loops and progress to more complex designs.
- Creating Earrings: Start by making simple earrings using beads and headpins. This is a great way to practice your skills and create lovely accessories.
Conclusion


