Step-by-Step Guide to Changing Your Vehicle’s Oil – WordPress Tutorial
Step-by-Step Guide to Changing Your Vehicle’s Oil is an essential process for maintaining the health and longevity of your vehicle. Regular oil changes can help prevent engine damage, improve fuel efficiency, and reduce emissions. In this article, we will walk you through the steps to change your vehicle’s oil, providing you with a comprehensive guide to help you get started.
Why is Oil Change Important?
Oil change is crucial for your vehicle’s engine as it lubricates the moving parts, prevents corrosion, and helps to cool the engine. Over time, the oil becomes dirty and loses its effectiveness, which can lead to engine damage and decreased performance. Changing the oil regularly can help to:
- Prevent engine damage and wear
- Improve fuel efficiency
- Reduce emissions
- Extend the life of your vehicle
Step-by-Step Guide to Changing Your Vehicle’s Oil

Changing your vehicle’s oil is a relatively simple process that you can do yourself with a few tools and some basic knowledge. Here’s a step-by-step guide to help you get started:
- Gather the necessary materials: oil filter wrench, new oil filter, enough motor oil to fill your vehicle, a drain pan, and a socket wrench or ratchet and socket.
- Warm up your engine: drive your vehicle for a few minutes to warm up the engine. This will help the oil drain more easily.
- Find a safe place to drain the oil: choose a level surface and make sure the area is clear of any flammable materials.
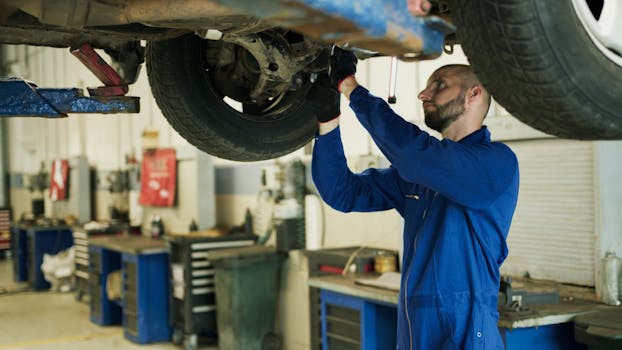
- Locate the oil drain plug: check your vehicle’s manual to find the location of the oil drain plug. It’s usually located at the bottom of the engine, near the front of the car.
- Remove the oil drain plug: use a socket wrench or ratchet and socket to remove the plug. Be prepared for the oil to start draining out.
- Drain the oil into a pan: let the oil drain into the pan for at least 10 minutes to ensure that most of the oil has been drained.
- Replace the oil filter: use an oil filter wrench to remove the old filter and discard it. Install a new oil filter by hand tightening it in a clockwise direction.
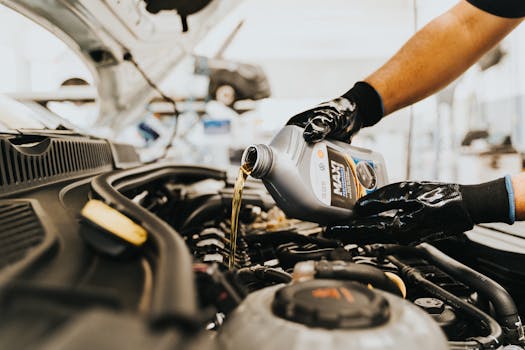
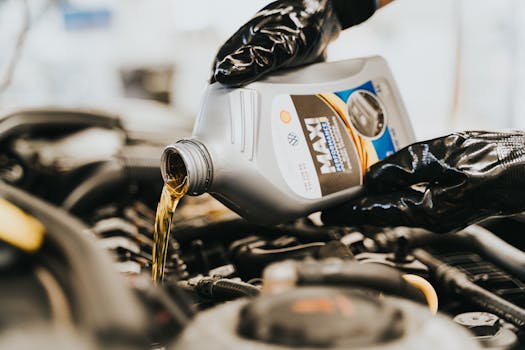
- Refill the oil: pour in the new oil through the oil filler cap. Be sure to use the same type and amount of oil recommended by your vehicle’s manufacturer.
- Replace the oil filler cap: tighten the cap securely to prevent oil spills.
- Check for leaks: start the engine and let it run for a few minutes. Check the oil drain plug and oil filter for any signs of leakage.
- Dispose of the used oil: take the used oil to a recycling center or an auto parts store that accepts used oil.
Tips and Precautions
When changing your vehicle’s oil, it’s essential to take some precautions to avoid any accidents or damages:
- Make sure you have a suitable location to drain the oil, away from any flammable materials.
- Use the correct type and amount of oil recommended by your vehicle’s manufacturer.
- Avoid over-tightening the oil drain plug or oil filter, as this can damage the threads.
- Be prepared for spills and have a drip pan ready to catch any oil that may spill.
Conclusion

Changing your vehicle’s oil is a simple and essential process that can help extend the life of your vehicle. By following these steps and taking the necessary precautions, you can ensure that your vehicle runs smoothly and efficiently. Remember to always refer to your vehicle’s manual for specific instructions and guidelines, and don’t hesitate to seek help if you’re unsure about any part of the process.