Beginner’s Guide to DIY Jewelry-Making Projects: Create Stunning Accessories at Home
Takeaways: In this article, you will learn about simple and enjoyable DIY jewelry-making projects that require minimal skills and materials. Perfect for beginners, these projects will help you unleash your creativity and make stunning accessories for yourself or as gifts.
Jewelry-making is a fantastic way to express your creativity while crafting beautiful pieces you can wear or gift to loved ones. This article will guide beginners through some simple DIY jewelry-making projects that are not only enjoyable but also allow you to create unique accessories. Let’s dive into the world of crafting your own jewelry!
1. Beaded Bracelets
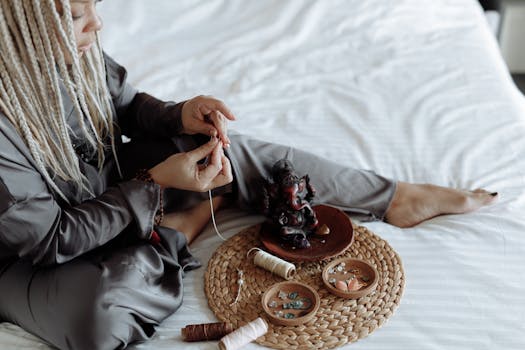
Beaded bracelets are one of the easiest jewelry-making projects for beginners. They require minimal tools and materials, making them perfect for anyone just starting in the craft. Here’s a simple guide to making your own beaded bracelet:
Materials Needed:
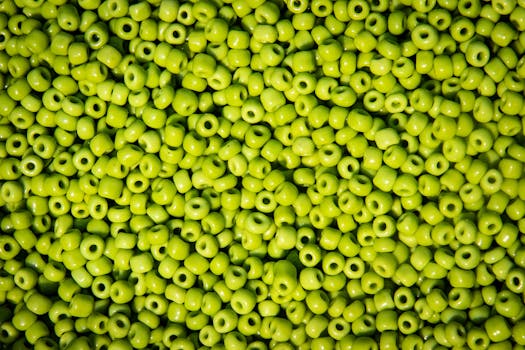
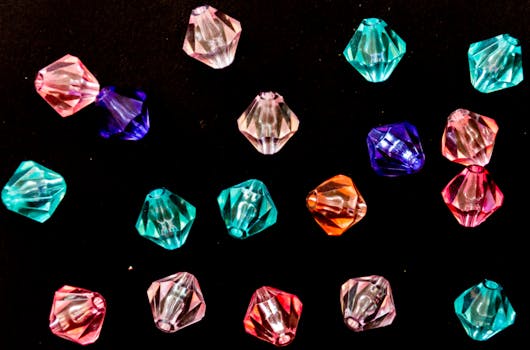
- Beads of your choice (plastic, glass, wooden, etc.)
- Stretch cord or jewelry wire
- Scissors
- Optional: crimp beads and pliers (if using wire)
Instructions:
- Start by selecting a variety of beads that you love. You can choose a color scheme or mix different colors and shapes for a unique look.
- Measure your wrist and cut the stretch cord or jewelry wire accordingly, leaving a little extra length for securing the ends.
- Begin stringing the beads onto the cord or wire in your desired pattern.
- If you are using stretch cord, simply tie a knot at the end once all beads are on. For wire, use crimp beads and pliers to secure the ends.
- Trim any excess cord or wire, and your beaded bracelet is ready to wear!
2. Simple Earrings

Materials Needed:
- Earring hooks
- Beads or charms
- Head pins or eye pins
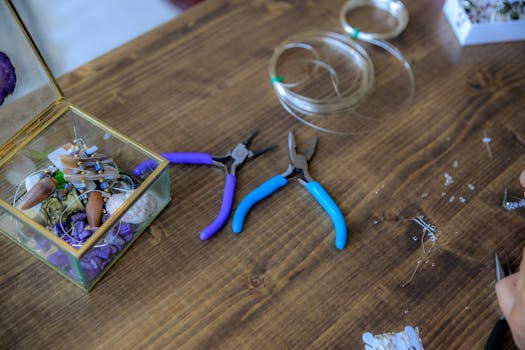
- Pliers (round-nose and flat-nose)
Instructions:
- Select beads or charms that you would like to use for your earrings.
- Thread a bead onto a head pin or eye pin, leaving a little space at the top.
- Using round-nose pliers, create a loop at the top of the pin to secure the bead.
- Attach the loop to the earring hook.
- Repeat the process for the second earring, and you’ll have a lovely matching set!
3. Wire-Wrapped Rings

Materials Needed:
- Jewelry wire (24-gauge is ideal)
- Beads or stones
- Ring mandrel or a cylindrical object to shape the ring
- Wire cutters
- Pliers
Instructions:
- Cut a length of wire, approximately 12-18 inches long.
- Wrap the wire around the ring mandrel to create the base of the ring, measuring to fit your finger.
- Thread a bead or stone onto the wire and wrap the wire around the base to secure the bead in place.
- Continue wrapping until you are happy with the design, then trim the excess wire with wire cutters.
- Your unique wire-wrapped ring is complete!
4. Necklaces with Pendants

Materials Needed:
- Chain or cord for the necklace
- Pendant (can be a charm, a stone, or a handmade piece)
- Jump rings
- Clasp
- Pliers
Instructions:
- Cut the chain or cord to your desired length.
- Attach a jump ring to the pendant.
- Use the pliers to attach the jump ring to the chain or cord.
- Attach the clasp to the ends of the chain.
- Your stylish necklace is now ready!
Conclusion


