DIY Wall Art Projects for Personalizing Your Home with WordPress
DIY wall art projects are a great way to add a personal touch to your home and make it truly unique. With a few simple materials and some creativity, you can create beautiful and meaningful pieces of art that reflect your personality and style. In this article, we will explore some easy and creative DIY wall art projects that you can use to personalize your home with WordPress.
Why DIY Wall Art?
DIY wall art is a great way to add some personality to your home without breaking the bank. It allows you to express your creativity and bring your own personal style to your space. With DIY wall art, you can create pieces that are truly one-of-a-kind and reflect your interests, hobbies, and passions. Additionally, DIY wall art is a great way to upcycle old materials and reduce waste, making it a sustainable and eco-friendly option.
Easy DIY Wall Art Projects
Here are some easy and creative DIY wall art projects that you can try:
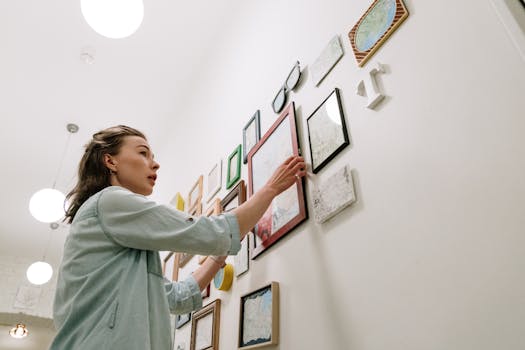
- Photo Gallery: Create a photo gallery using frames of different sizes and shapes. You can use a mix of black and white and color photos to add some visual interest.
- String Art: Create a string art piece using a wooden board, nails, and colored string. You can create geometric patterns or spell out a word or phrase.
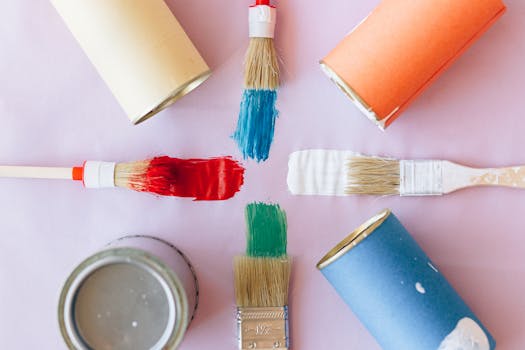
- Painted Canvas: Paint a canvas with a favorite quote, lyrics, or poem. You can use stencils or freehand it for a more rustic look.
- Collage: Create a collage using old maps, book pages, or music sheets. You can add some glue, scissors, and a frame to create a unique piece of art.
- Shadow Box: Create a shadow box using a deep frame, some foam board, and a few decorative items. You can add some photos, tickets, or other mementos to make it more personal.
Advanced DIY Wall Art Projects

Here are some more advanced DIY wall art projects that you can try:
- Mosaic Art: Create a mosaic art piece using small tiles, glass, or stone. You can create a pattern or image using a combination of colors and textures.
- Wooden Sign: Create a wooden sign using a piece of wood, some paint, and a few tools. You can add some decorative details like carvings or engravings.
- Fabric Wall Hanging: Create a fabric wall hanging using a piece of fabric, some thread, and a few stitches. You can add some embroidery or appliques to make it more interesting.
- Recycled Material Art: Create a piece of art using recycled materials like old CDs, bottle caps, or cardboard tubes. You can add some glue, scissors, and a frame to create a unique piece of art.
- Geometric Pattern: Create a geometric pattern using a combination of shapes and colors. You can use paint, markers, or colored pencils to create a unique design.
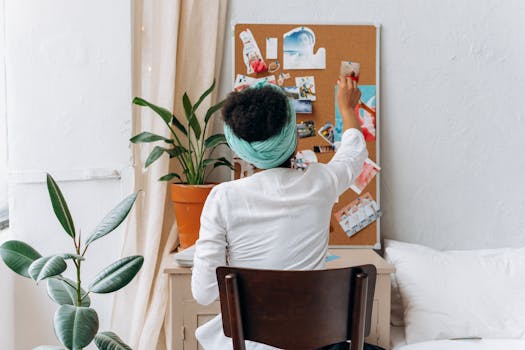
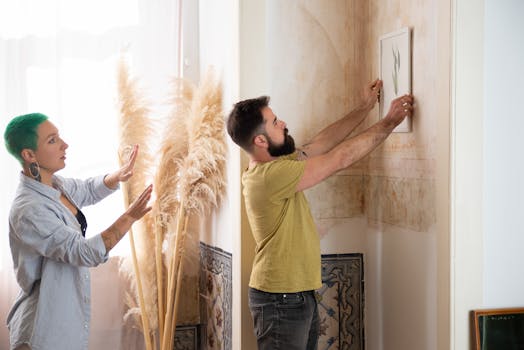
Displaying Your DIY Wall Art
Once you have created your DIY wall art, you need to display it in a way that showcases its beauty. Here are a few tips for displaying your DIY wall art:
- Use a Level: Make sure the piece is level and straight. You can use a level tool to ensure it is perfectly aligned.
- Choose the Right Frame: Choose a frame that complements the piece and adds to its beauty. You can use a simple frame or a more decorative one, depending on the style of the piece.
- Consider the Lighting: Consider the lighting in the room and how it will affect the piece. You can use spotlights or floor lamps to highlight the piece and create a dramatic effect.
- Group Similar Pieces Together: Group similar pieces together to create a gallery wall. You can use a mix of frame styles and sizes to add some visual interest.
- Add Some Greenery: Add some greenery like plants or vines to bring some life to the space. You can use a planter or a vase to add some color and texture.